During the recycling process there is a step where you will need to press the pulp into a sieve, which is used to strain liquids from solids. It is helpful if the sieve is already made so you do not need to pause the process. See below for quick directions on how to make a sieve.
Step 1: Get a wire hanger and bend it into a rectangle to form your frame. *
*The size and shape of your sieve will determine the size and shape of your paper.
Step 2: Stretch a panty hose over the frame and use duct tape to secure it to the hook of the hanger. Pro tip: you can make two sieves with one set of panty hose.
Congratulations, you just made a sieve!
Now, how do I make recycled paper myself?
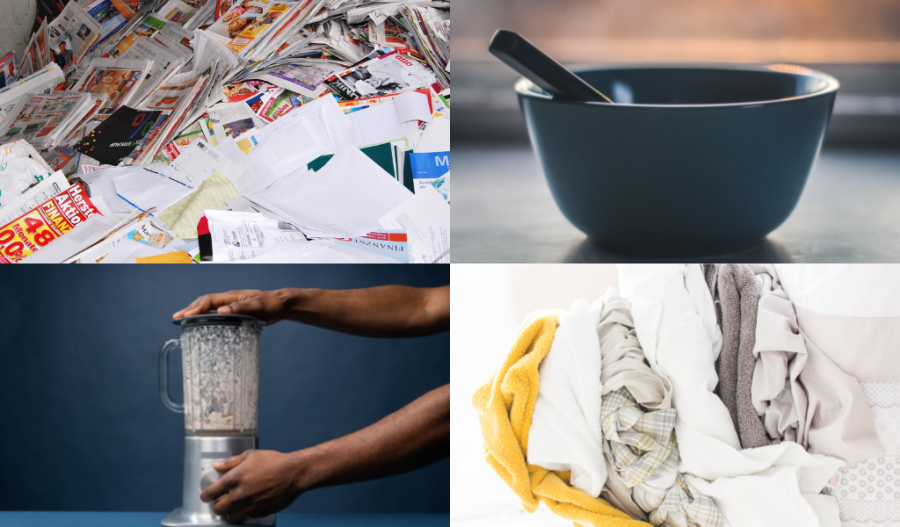
Step 1: Tear or cut the old paper into small pieces and place them in a bowl.
Step 2: Fill the bowl with water until the paper is slightly covered. Leave the paper soaking in the bowl for at least 2 hours, or overnight.
Step 3: After soaking, squeeze the excess water from the paper and place it in a blender to blend into an oatmeal pulp consistency.
Tip: Use a wooden spoon to help move the pulp around for easy blending.
Step 4: Once blended, get a flat baking sheet and place a towel over it. Place the sieve on the towel and lay the gooey pulp onto the sieve.
Step 5: Press the pulp into the sieve to remove the excess water and match the shape and size of the paper mold.
Step 6: Place the other towel over the paper mold and continue to press down, squeezing out any more water that may be left.
Tip: When you have finished pressing, put a cutting board over the towel to help flip over the paper mold to dry.
Step 7: Let the pulp air dry for a few hours or overnight.
Tip: If you want to help dry the paper quicker you can use an iron, just make sure to place a towel over the paper mold to protect it from direct heat.
Step 8: When the paper is completely dry, you can cut the edges of the paper for a clean look or just start writing notes!

